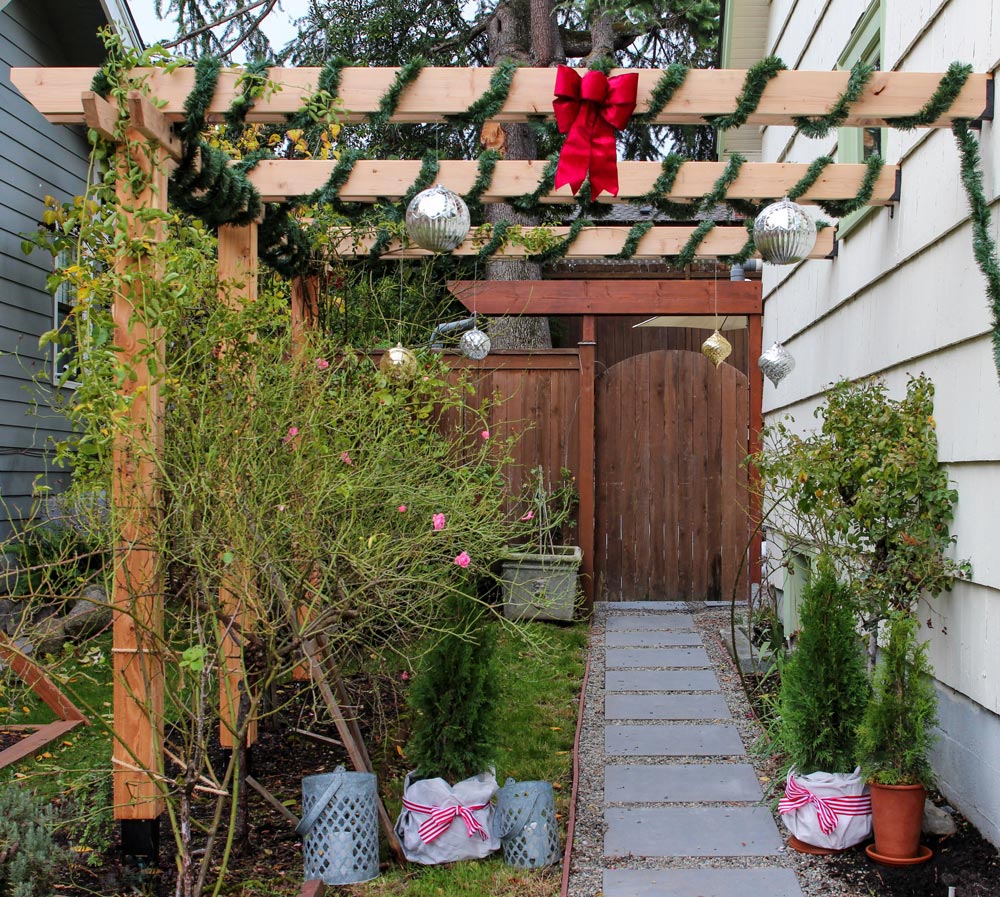
Transform Your Space: How to Build a Pergola Attached to Your House
Building a pergola attached to your house can transform your outdoor space, adding both beauty and functionality. Follow Marie of This Dear Casa’s journey as she cleared a walkway obstructed by roses and built a stunning pergola to support the plants and enhance her home’s curb appeal. Here's how you can do it too!
Measure and Check Level
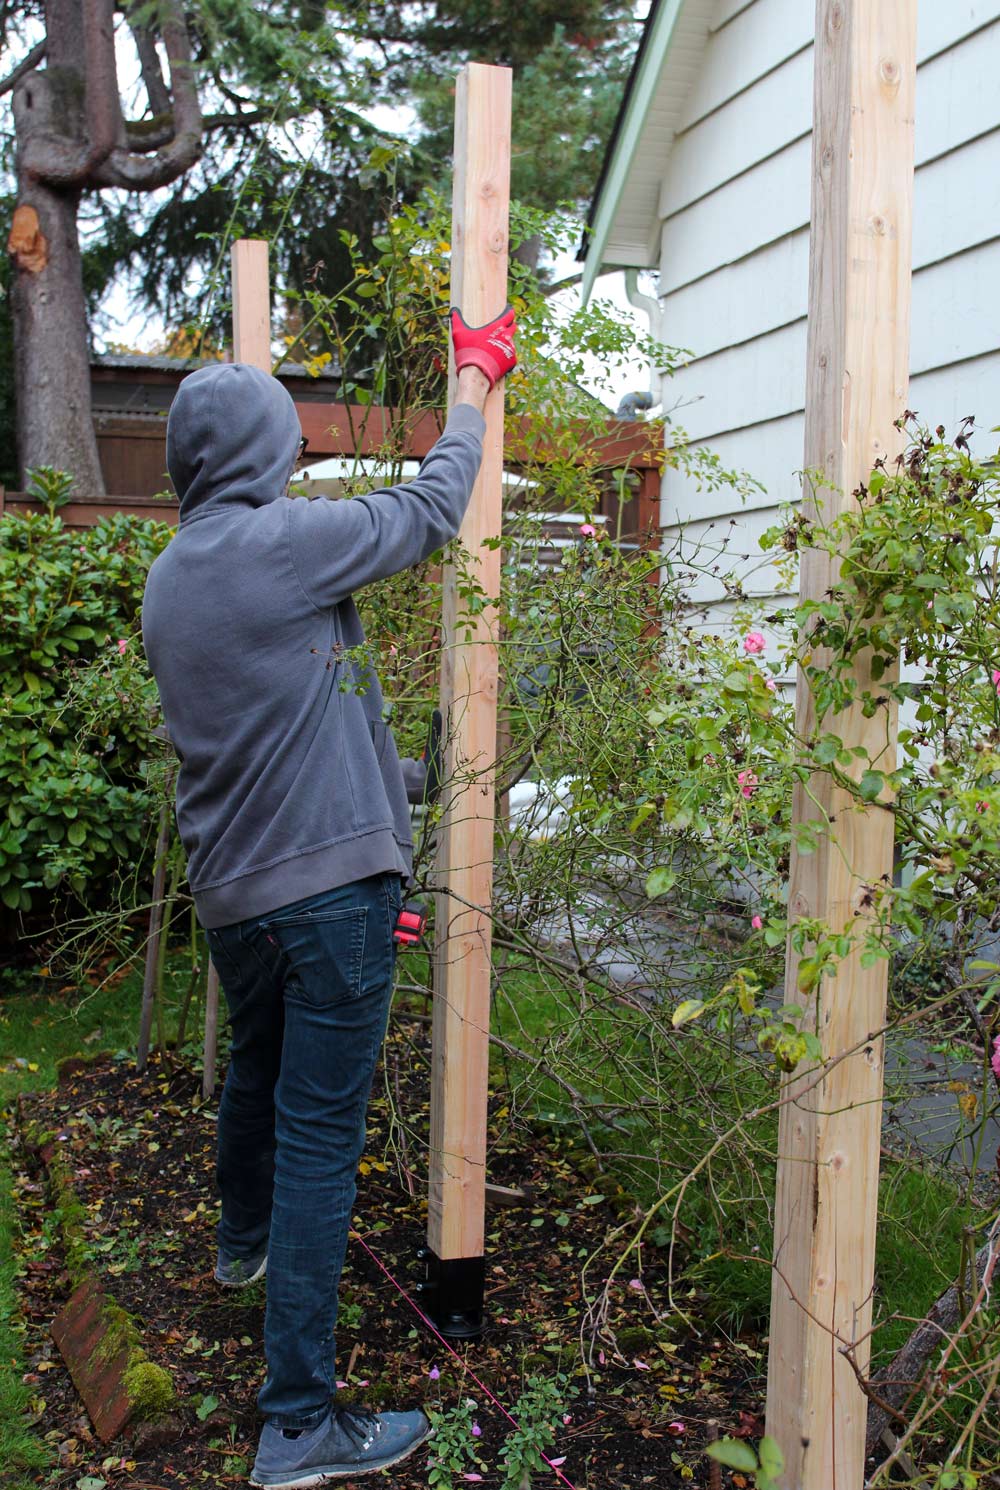
First things first, measure twice, cut once. You want your pergola to be perfectly level and spaced correctly. Start by measuring the spacing of your posts and check that the heights are level throughout the project. This step is crucial to ensure your pergola stands straight and looks professional.
Tip: Use a long level or a laser level to get the most accurate results. Ensuring everything is level now will save you headaches later.
Set Posts in the Ground
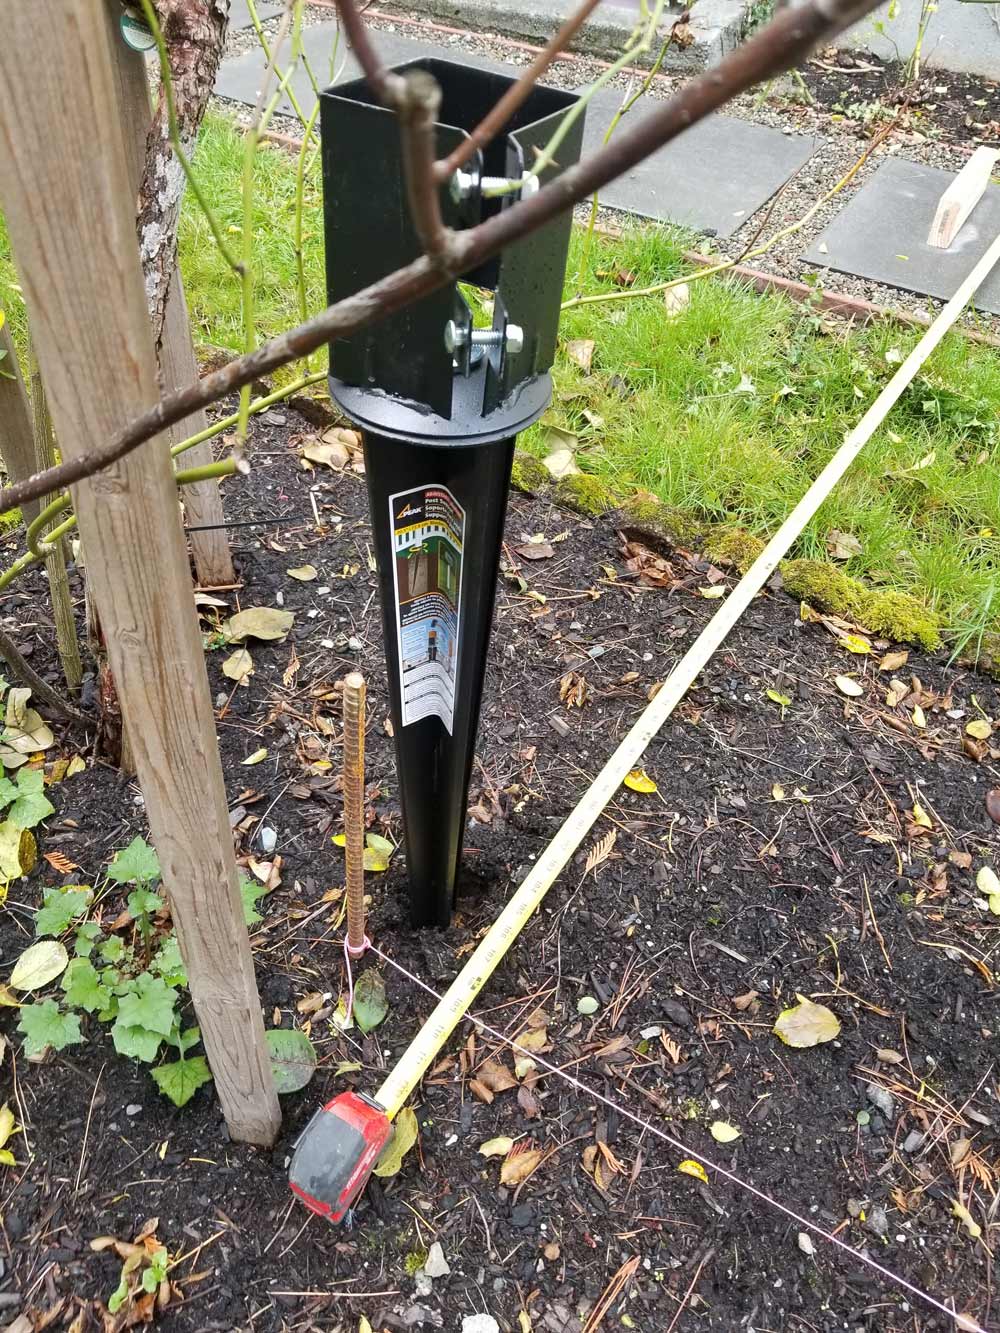
Strong foundations make for a sturdy pergola. After measuring, use stakes and string to mark where your posts will go. Drive post supports into the ground at these marked spots. Insert a cut portion of the post into the support to initially set it.
Pro Tip: Tamp down on the wood with a mini sledgehammer to ensure the support is driven deep into the ground. Keep checking the level as you go, and once all posts are level and at the same height, tighten the screws.
Cut Rafter Details
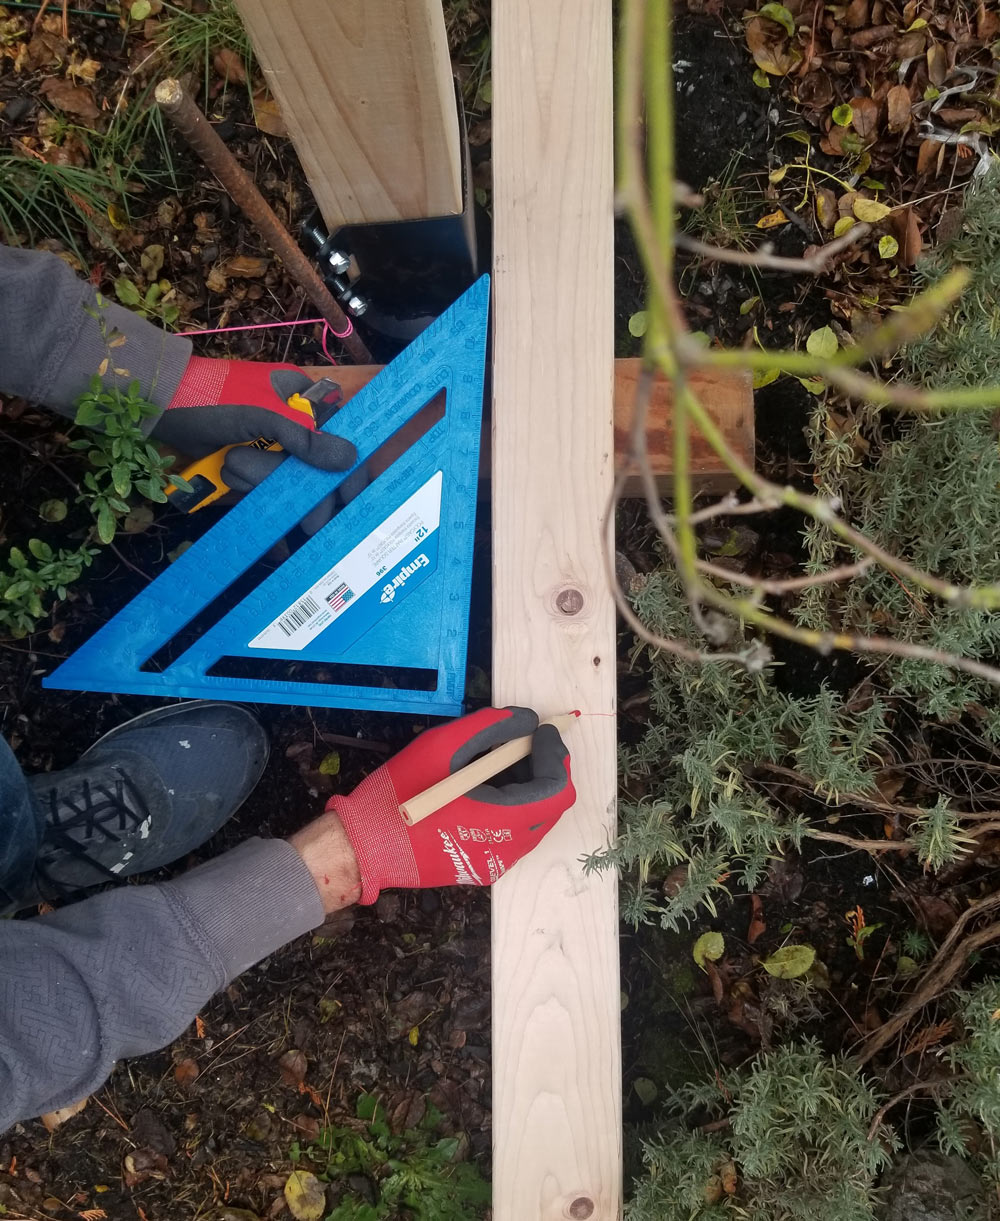
Add some flair with decorative cuts. Measure 1.5 inches down from the end of the board and use a rafter square to mark a 45-degree angle. Cut along this angle to create a decorative detail that adds a touch of personality to your pergola.
Pro Tip: Match this detail to other existing elements in your yard, like a purlin over a gate, for a cohesive look. Feel free to get creative with the design to suit your style.
Attach 2x6 and 2x4 Cross Beams
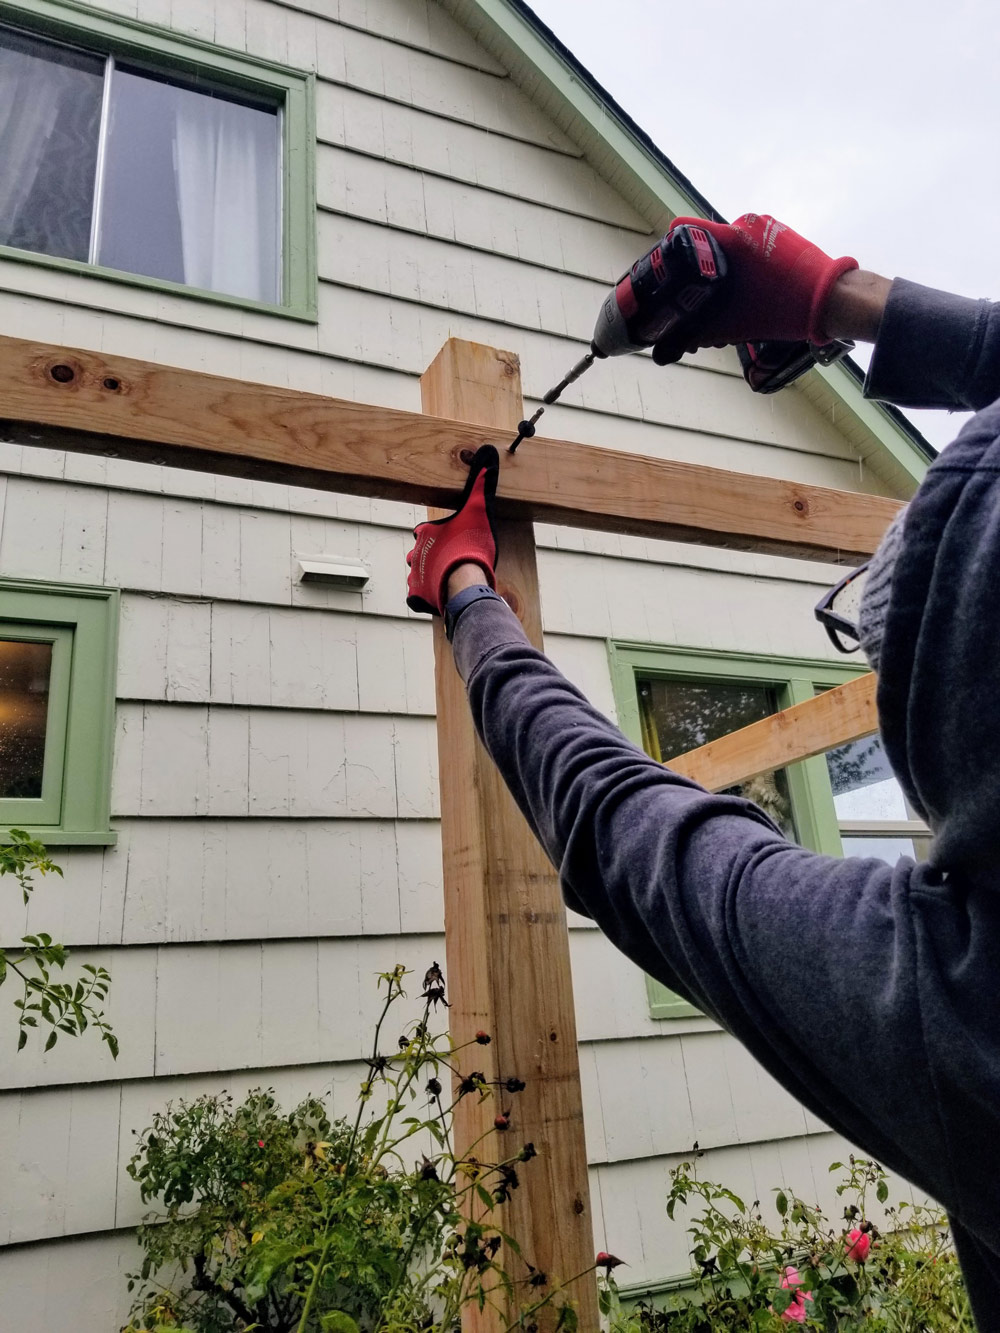
Sturdy beams are the backbone of your pergola. To attach the pergola to your house, screw joist hangers to the building. Fit the 2x6s into these joist hangers and extend them to connect across to the posts. Use structural wood screws to attach 2x4s and 2x6s to the posts.
Pro Tip: Ensuring your beams are securely fastened will prevent any wobbling or instability. This step is all about reinforcing the structure to handle weather and wear.
Create Cedar Facing for the Posts
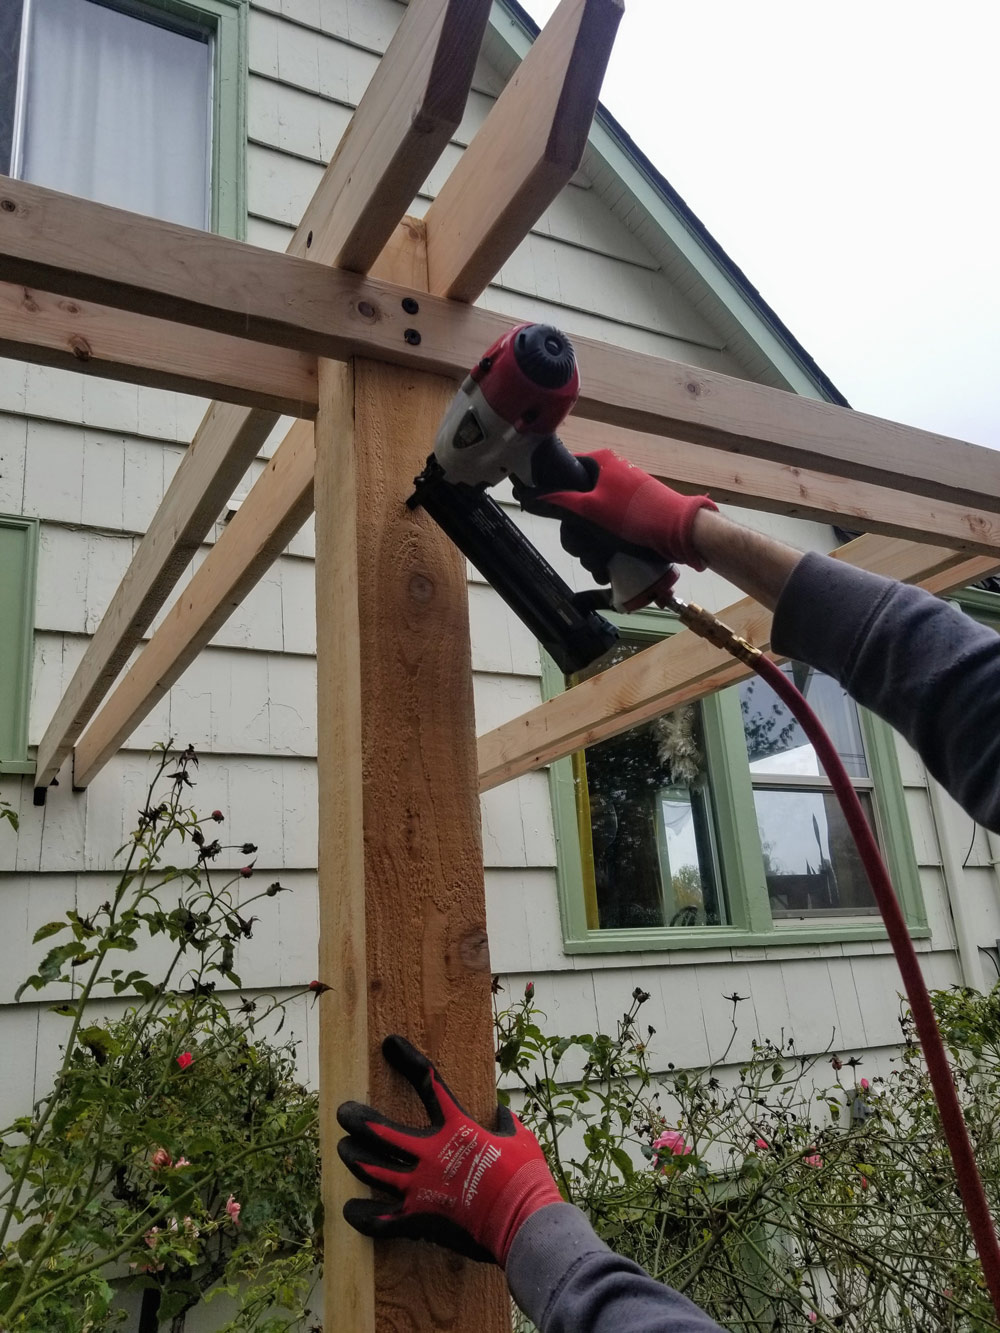
Finishing touches with cedar facing. Mill cedar fence boards to create a facing around the posts. Apply Loctite glue to these boards and attach them to the posts. The glue will hold the boards in place, allowing you to adjust them as needed before using a 16-gauge nail gun to secure them.
Pro Tip: Cedar not only looks great but also withstands the elements well. The nail gun will ensure the facing stays put, providing a polished finish to your pergola.
Enjoy!
Building a pergola attached to your house is a rewarding project that can dramatically enhance your outdoor living space. By following these steps, you can create a beautiful, functional structure that adds value to your home and provides a stunning support for climbing plants.
And remember, if you or someone you know needs help with buying or selling a home, I'm here to assist! Reach out anytime for professional real estate advice and services.
Source: Home Depot
If you have any questions, want to know what the current value of your home is, would like to book an appointment with me or are looking for some free real estate related educational reports; make sure to Check Out My Link tree
Search for your next dream home or find out the value of your current home on my website www.Realvolutionhomes.com
Dan McDevitt
Cummings & Company Realtors
Team Leader Realvolution Homes Group


